NZXT Sentry 3 Fan Controller
Introduction
As enthusiasts we love to have full control over everything. We precisely tune the speed of our CPU, RAM, and GPU and tweak our operating systems to get that tiny extra bit of performance. But then after doing all of this micro-managing some guys will plug their fans in to the motherboard headers and forget about them.
To help remedy that issue, today we are taking a look at the NZXT Sentry 3 fan controller. With the ability to manually adjust every fan in your case, link multiple fans together, monitor temperature, and do all of that while looking stylish with a large touchscreen, this controller really shows some promise. Read on to see how it performs.
 |
Features
- Extraordinarily Large Screen – The Sentry 3’s huge 5.4 inch color touchscreen is 33% larger than most single bay fan controller screens
- 15 Watts – control up to three high performance fans per channel
- Stay Safe – Integrated overvolt, undervolt, and short protection keeps you and your PC safe
- Compatibility – Connect and control any 3-pin or 4-pin PWM fan on the market.
Specifications
| Model Number | AC-SEN-3-B1 |
| Dimensions | 129mm x 31mm |
| Material | Steel, ABS Plastic, Capacitive Touchscreen, PCB |
| Fan Connector | 3-Pin or 4-Pin |
| Included Accessories | 4x M3 Screws |
| Form Factor | Single Bay 5.25″ |
| Connections | 1x Molex, 1x Temperature Sensor, 5x PWM Male Fan Connectors |
| Maximum Combined Wattage | 75 Watts |
| Control Modes | Manual / Performance / Quiet |
| Fan Channel Quantity | 5 Channels |
| Fan Channel Wattage | 15 Watts |
| Screen Type | Capacitive Touch |
| Fan Control Method | Voltage |
| Warranty | 2 Years |
Packaging
 |
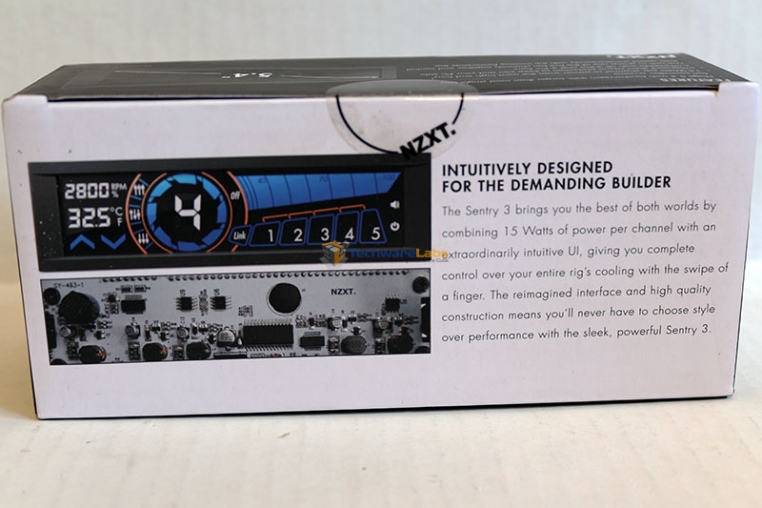 |
The Sentry 3’s box has large, clear pictures of the front and back of the controller as well as some key features and specs.
Closer Look
 |
 |
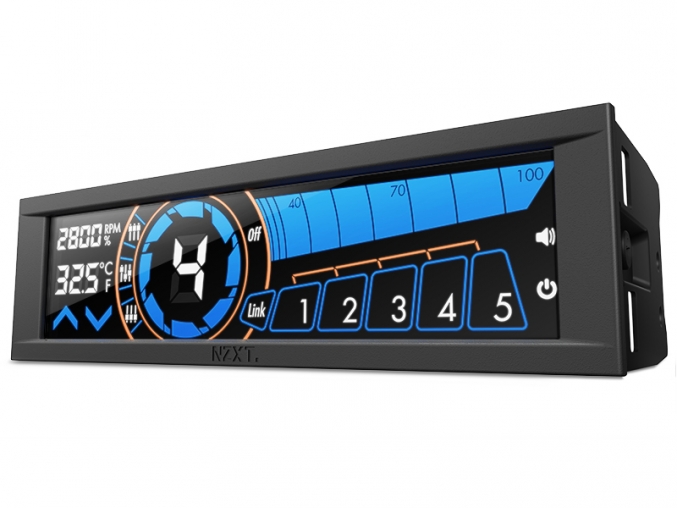
NZXT wasn’t kidding when they said this thing had a large screen. At 5.4″ it uses up almost the entire front panel.
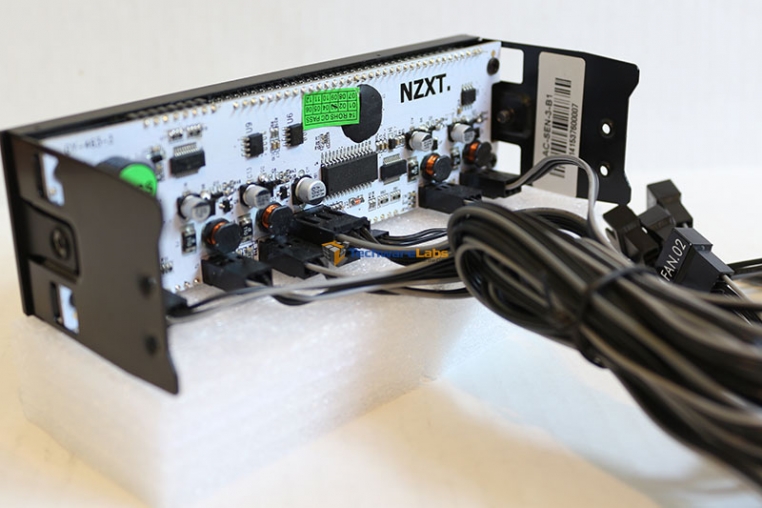
Around back we get a look at the nitty gritty. There are 5 fan headers, one for each channel. The cables can be removed to reduce clutter if you don’t need all 5. In between the fan cables is a temperature probe and molex power plug.
 |
 |
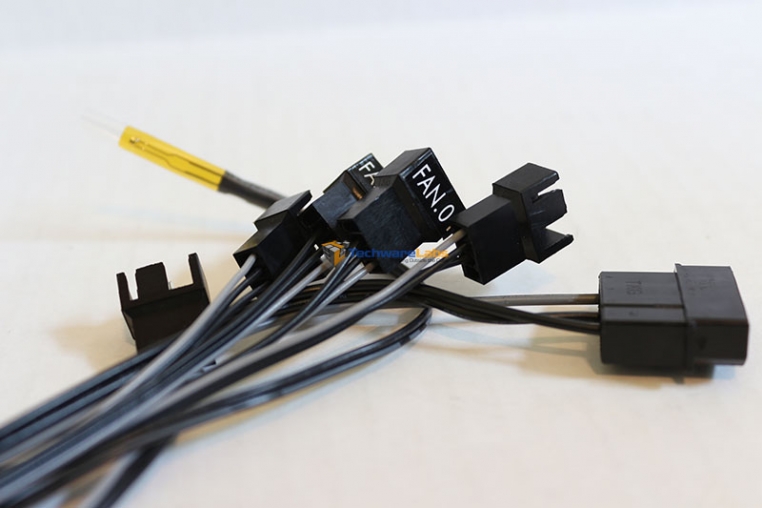
Each channel has one plug, though with up to 15 watts per channel you can easily plug a splitter in and power multiple fans from one channel. The small gold prong seen there is the temperature probe. The manual recommends sticking it on the edge of the processor underneath the socket clamp but it can be put anywhere you want to keep track of temps.
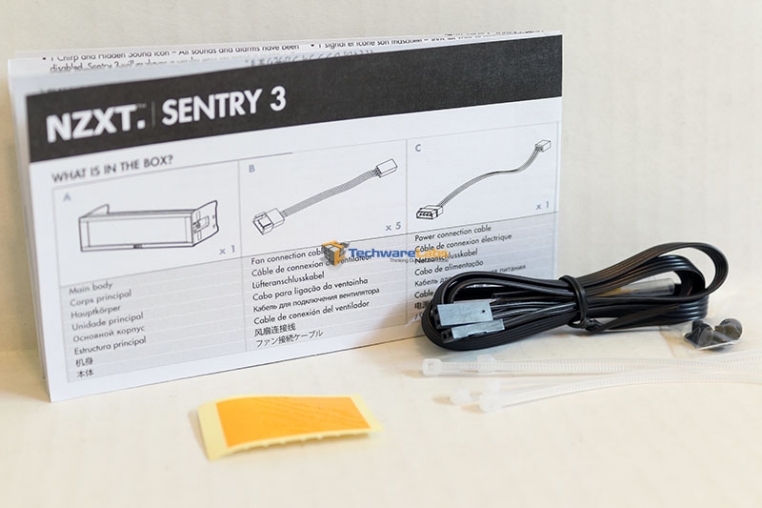
Aside from the controller itself you also get two extra temp probes (though only one can be used at a time), tape to hold the probe down, zipties and screws, and a user guide.
Layout
 |
 |
To start off, installing the Sentry 3 was just as simple as any other fan controller. I ran the cables immediately from the 5.25″ bay to the back of my case to keep everything looking tidy. I only needed 4 channels so I unplugged the last one so it wasn’t in the way.
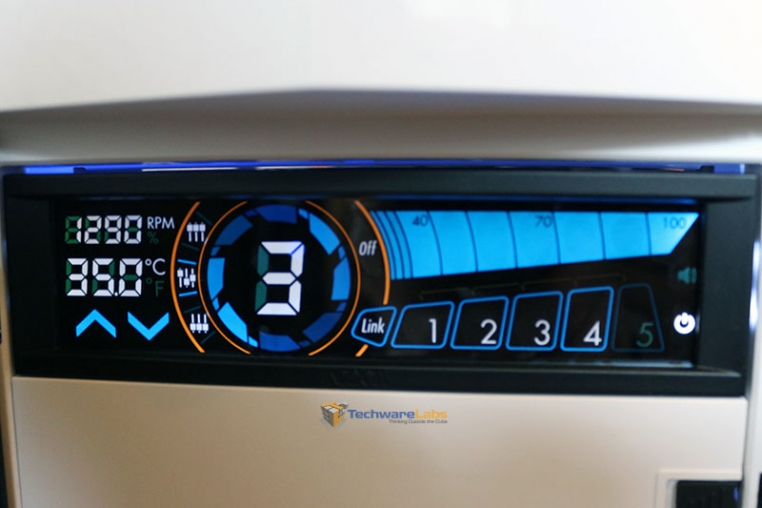
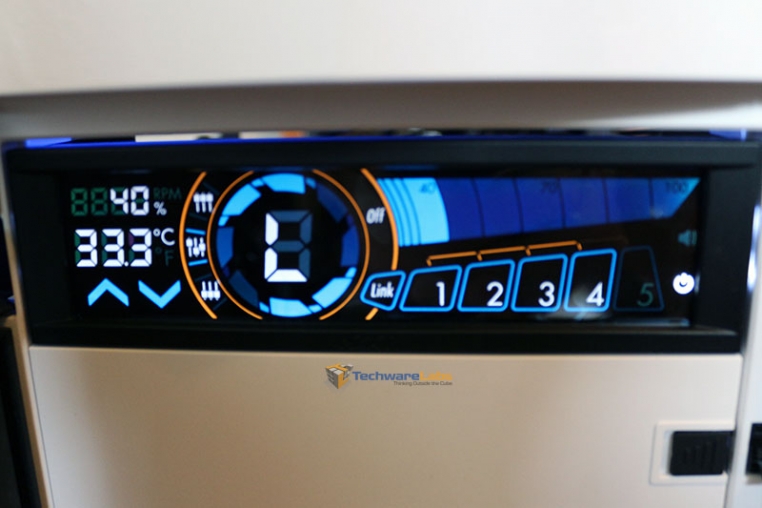
The screen layout is very intuitive, you don’t even really need the manual to figure it out. Starting from the top left we see the currently selected fans speed. If that fan is being controlled individually, it shows the RPM. If it’s linked to other fans (like in the picture on the right) it shows the percentage. One of the cool features with this controller is that you are able to selectively link multiple fans together so that they all increase/decrease at the same time. This is useful if you want to link your intake and exhaust fans, CPU cooler fans, etc.
Underneath the fan speed is your current temperature reading from the probe. I decided to put mine on the heatpipes of my GPU but you can put it on the CPU, RAM, MOSFETS, etc.
By clicking the circle in the middle you change in to the 3 different modes, performance, manual, or quiet. In the manual mode you obviously have full control over the speed of the fans but in the performance and quiet modes the fan speed is handled by the controller based on the reading from the thermal probe.
To the right of that is the “Powerslide Bar” which tells you the current percentage and allows you to adjust if in manual mode. Underneath the bar is the channel selector. If you have fans linked together they will show an orange bar above each channel. Finally to the right of the channel selector are the speaker and display switches. These allow you to mute the controller and turn off the display.
General Use
The majority of the time the controller performed perfectly fine. The layout was simple, I could easily link all of my fans and ramp them up with just one press. If you’re one of the set-it-and-forget-it types, just put the controller on either quiet or performance and let it handle the speed based on how hot the probe is getting. The touchscreen was very responsive and required just a light tap as well.
However, there are a few quirks that detracted from this otherwise very nice fan controller. First off is that you can’t manually lower the fans past 40% unless you just turn the fan off. For low-speed, quiet fans this isn’t an issue but if you are running loud fans, 40% may still be very audible. Another problem was that when you first boot the system all the fans are run at 100%. This is normal for a smart fan controller as it ensures all the fans get enough juice to start spinning before ramping back down, but the problem here is that the Sentry 3 holds them at 100% for about 30 seconds to a minute before slowly bringing them down. If you have powerful, loud fans like me, this gets really annoying at 6 AM. Lastly, when you decrease the speed of a fan from say 100% to 40% after a gaming session, the controller takes its sweet time to bring it back down, often taking 15-20 seconds to become silent again.
Final Thoughts
Pros:
- Looks great
- Intuitive interface
- Responsive touchscreen
- Capable of running many high-performance fans
- Nice feature set
Cons:
- Quirky fan speed issues
Overall, the Sentry 3 was a pretty nice fan controller. It has an easy-to-use interface, large, responsive touchscreen, is capable of handling more high-performance fans than you will most likely ever need, has a nice feature set, and does all of this while looking great. The only problem I had was the odd fan speed issues. Unfortunately this is a pretty big issue considering behind the flashy features, the whole point of this product is to have precise control over your fans. The fact that the controller limits my adjustability and seems to “have a mind of its own” even in manual mode became an annoyance over time.
If you are looking for a strict no-nonsense fan controller, there are other options out there that would better suit you. But if you want something that will add some WOW to your build and aren’t bothered by the small quirks this controller has, I would definitely keep the Sentry 3 in mind.

[…] NZXT Sentry 3 Fan Controller Review at TechwareLabs.com […]
[…] NZXT Sentry 3 Fan Controller Review @ TechwareLabs.com […]
[…] NZXT Sentry 3 Fan Controller Review @ TechwareLabs.com […]
[…] NZXT Sentry 3 Fan Controller Review @ TechwareLabs.com […]